The use of new media technologies were essential to our group in particular throughout all stages of the project. This is particularly evident in the construction where we filmed on greenscreen and used After Effects to add in backgrounds meaning without the proliferation of technology, this would have been impossible to do in a school environment.
Research & Planning
YouTube
 |
| The Youtube Hub |
Youtube was a huge tool involved in our research & planning. We were constantly on Youtube sourcing through existing music videos as inspiration or references to use throughout our work. The ease of finding music videos due to the proliferation of the internet and 'Web 2.0' focused on a sharing culture was hugely useful for our group with any music video just a few clicks away.
 |
| The Facebook group |
Facebook
We decided to make a Facebook group at the beginning of our project. This was useful as we were able to share ideas from the outset. With Facebook being a technologically converged website, this made it particularly useful to share photos and videos as well as messaging each other.
Mobile Phones
The proliferation of digital technologies and the fact that smart phones are now so common really worked to our groups benefit. Everyone in our group owns a smart phone meaning we could all reap the benefits of these technologically converged and web 2.0 ready devices. With this in mind, we set up a Whatsapp group which allowed us to be in contact on the go. The fact that we basically had a portable computer in our pockets was hugely beneficial and cannot be understated.
 |
| Communicating the recent purchases to each other via Whatsapp |
I also checked out real artist's Instagram feeds on the go with my iPhone meaning instead of having to boot up a computer, I could simply search the artist on Instagram and find photos within a few seconds.
 |
| Martin Garrix's Instagram feed |
Then, I could take advantage of my smart phone's apps and either share my research with the rest of the group via whatsapp or the Facebook messenger app.
 |
| The Facebook group interface on my phone |
Construction - Production
Cameras
In production we used the school's Canon 5D mark II in combination with Eddie's Canon 600D. Both camera's were great pieces of kit. Although the specs of the 5D may have been slightly higher, the differences were barely noticeable. We tended to use both cameras at the same time filming from different angles meaning we could save time as we would only have to perform once rather than twice for each different angle. The picture on both cameras were full HD meaning we got crisp footage to work with in post-production from both cameras.
Greenscreen
 |
| Our Greenscreen |
The Greenscreen served as a key part of technology for us. We used a Greenscreen cyclorama to enable us to later edit out the green background and replace it with a background of our choice. Although a simple piece of technology in itself (just a green curtain) it is not to be underestimated as without it, we couldn't have made our music video in the style we did.
Lights
 |
| One of the floor lights |
We used both floor lights and the lighting rig for our footage. Due to the fact that we used a Greenscreen background, we used these lights solely to light our actors rather than our actors and the background. This made the whole lighting process very straightforward as in most cases, we simply needed white lights. The floor lights were there to add extra lighting to characters who weren't as well lit by the lighting rig, for example in the performance shots where me and Eddie were in the background.
 |
| Where we tried to get every person lit |
This was the first time I had used the lighting rig which meant learning to use the leapfrog lighting desk. Although this seemed daunting at first, it was actually relatively straightforward after receiving a demonstration from our technician. This was an effective piece of hardware which made a huge difference in the outcome of how our footage looked.
 |
| The lighting desk |
Construction - Post-production
Premiere Pro
 |
| The multi-track layout on Premiere |
After collecting our footage, we used Adobe Premiere Pro to edit our footage together into a music video. We first put it into order on Premiere, then edited the shots on After Effects and put them back into Premiere. Premiere Pro was familiar to all of us as we have used it before on multiple occasions in previous projects. The multi-track layout proved to be particularly useful as we could organise our footage on alternate layers for ease of use.
 |
| The effects were layered above or onto the shots |
Premiere was also of great use for adding in effects onto the shots. We first added the effect onto the shots featuring the greenscreen in the back as a guide and then re-added them back in after we had finished editing the shot on after effects and put it back into Premiere.
 |
| Here is the effect of the Vignette |
After Effects
 |
| The After Effects project window |
Our project involved a huge deal of work on After Effects. After Effects was used to create and add in all of the backgrounds as well as masking in/out a lot of props. In addition to this, we used 'Colour Finesse' on After Effects to grade our shots. After Effects was of huge importance to our project as without it, we wouldn't have been able to do anything with greenscreen footage we shot. It also provided a more in depth grade that we found particularly useful.
 |
| Footage pre After Effects |
 |
| Footage post After Effects |
Photoshop
 |
| Layering on Photoshop |
We used Photoshop to create the Album covers and also to edit our photos of our Artist. Like Premiere, we were all familiar with Photoshop with a good history of knowledge for all 3 of us. Photoshop was a great tool as we used it in multiple ways. For our photos, we used the spot healing tool to clear my skin and edited out the backgrounds using the quick select tool replacing them with a plain white background instead. For our digipak, we used a background and used the layering to add in the artist image, text and album information.
Web 2.0 - Wix
We used Wix to create our website. Wix is an free, online website creation site which was very straightforward to use and provided a great service for us to make a professional looking website. Using Wix, we created a multi-page site with working links and a working store to purchase merchandise.
 |
| The Wix interface |
Wix was new to all of us but we got to grips with it almost instantly self-teaching ourselves how to use it. The interface was very straightforward and it also had a great range of inbuilt features such as gallery templates and social media links. The social media links and widgets were particularly useful as they added interactivity into our website and also allowed our website to be the hub of our campaign with a range of different medias resulting in a cross-media converged website.
 |
| How we added in social media |
 |
| Youtube account |
Web 2.0 - Social Media
 |
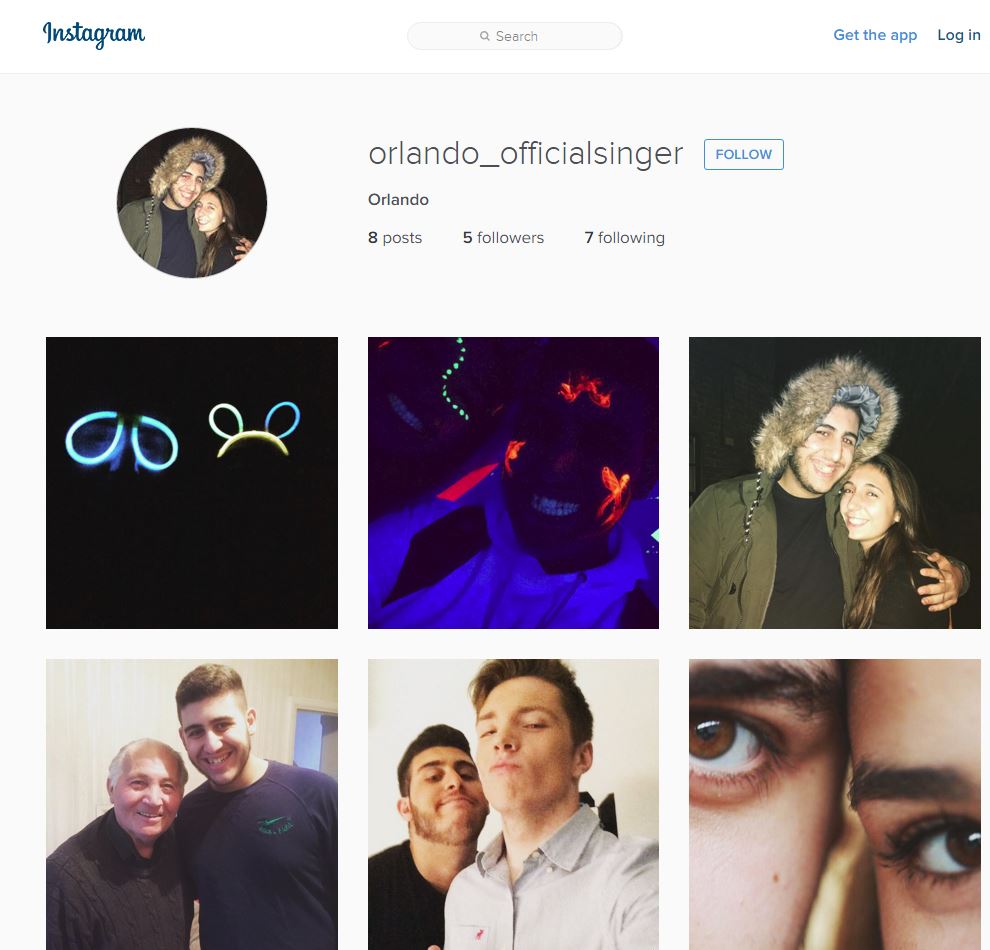
| Instagram account |
 |
| Twitter account |
Building on Jenkins theory of audience participation, we thought it prudent to make some social media accounts. We made an Instagram, Twitter, Youtube and Soundcloud account. As our whole group are users of social media, this was very straightforward and only took a few minutes per account.
 |
| Soundcloud account |
With a culture so reliant on smart phones, this very simple but effective use of marketing now allowed our audience to participate with our artist on the go as well as on a computer. By sharing small insights to our artist's world, this played into Dyer's Star Theory where our artist is a constructed image and the audience are seeing exactly what we want them to.
Evaluation
Blogger
Blogger has been the programme of choice to document our group's progress throughout the project. Blogger has been really helpful as it is a cloud-based service meaning I can work on it wherever I sign onto the Google account. It has served as an appropriate service to display my Evaluation posts with lots of positives such as the ability to embed a range of other services into the document. However, formatting on Blogger can be quite laborious as the layout doesn't always show as it seems when it gets published.
 |
| The blogger interface |
 |
| The Imgflip interface |
Imgflip (Youtube to gif service)
I used Imgflip to convert video clips into GIFs. This allowed me to back up points I was making by using short clips as evidence. The GIFs also allowed me to make my blog look quite visual rather than just a solid block of text which doesn't look great.
Prezi
 |
| The Prezi interface |
Prezi was a great tool that I used to create online presentations which I then embedded into blogger. It was particularly useful as the style of presentation you could create was a lot more exciting than simple text presentations with a strong sense of movement throughout the presentations. I've used Prezi quite a lot throughout my presentation demonstrating the importance of new media technology for my evaluation.
Snipping Tool
The Snipping Tool has been really useful for getting screenshots of my work. The majority of photos on this page have been captured by the Snipping Tool. It's saved a lot of time and helped me to capture my evidence of certain media technologies whilst also being one itself.
 |
| The Snipping Tool |
Padlet
Padlet is a webtool that I used to note down ideas and put onto my blog. Padlet basically acts like an online version of Post-it notes. It also has the ability to add in photos and videos which served to be useful. The webtool was of great use as it looks quite visually appealing and also adds an essence of interactivity as you scroll around the page.
 |
| Padlet |
Meta-chart (Pie Chart Creator)
I used Meta-chart to create a number of pie charts to give a visual representation of data I had collected. The programme was particularly useful as all I had to do was input the data and labels and it would create the chart for me.
 |
| Meta-chart was really simple to use |


No comments:
Post a Comment